
Materials:
A book
A cutting surface (I use a piece of scrap plywood)
A metal or metal-edged ruler
A sturdy utility knife
Sharp blades for your knife
A pencil
Tacky glue
Weights or heavy books
Plastic wrap or plastic sheeting
Masking tape
A rough idea of what’s going into the niche
How to do it:
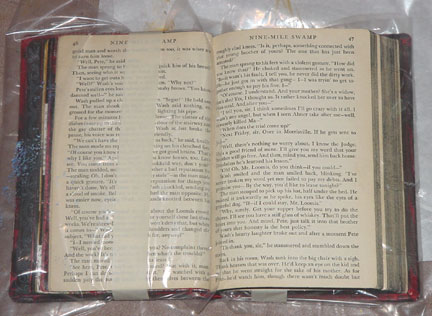 Open your book to the page where your niche will go. Cut a piece of plastic wrap or sheeting that will cover and protect the pages prior to the niche. Wrap those pages with the plastic and wrap the plastic with tape to hold it in place. (Don’t tape the pages of your book!)
 Decide how many pages you will use for the niche, and open your book to the last page you will use. If you want to use a couple of pages to back your niche, don’t forget to figure these in and include them in the pages that will remain uncut. As you did with the front of the book, wrap all the pages behind your niche in plastic, and tape the plastic to hold. You should now have a protected front and back of your book, and a bunch of pages free that you’re going to do bad things to.
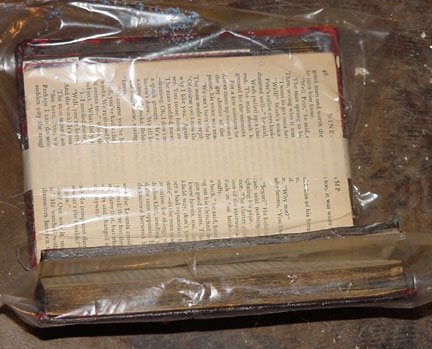
Run a bead of tacky glue around the outside edge of your free pages. Just hold them in a loose clump and squeeze the bottle right onto the page edges. Then take your finger and rub the glue along the edges, covering them completely. Don’t worry if they don’t seem to be sticking to each other yet.
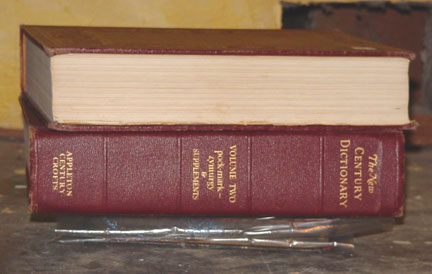 Close your book and place it on a flat surface. Weight it with whatever you’ve got—I use two big dictionaries. Leave your book to dry over night.
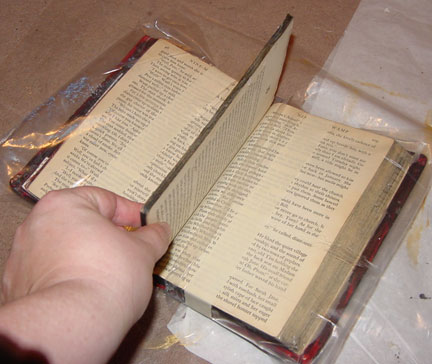 When your book is dry, open it gently. You may have to work a bit at getting your pages free of the plastic. Once the pages are free, you’ll have a protected front and back of your book, and one solid block of pages waiting for you to cut them.
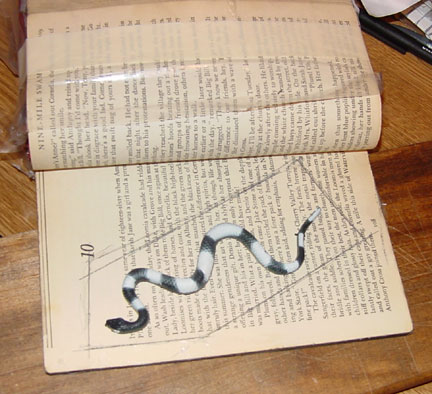 If you have an object you’d like to place in your niche, place it on the book and choose a position. In this case, my niche is getting a lovely plastic snake, which will require an oddly shaped niche. I just placed the snake on the book and drew around it, then cleaned up my lines with a ruler.
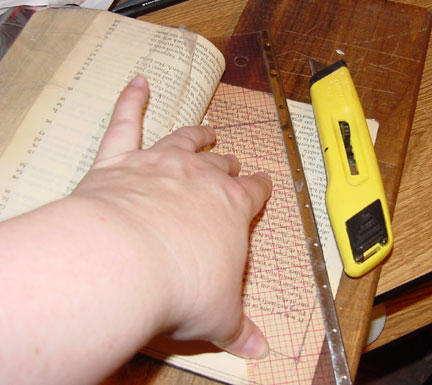 Slide your cutting surface into your book to protect those pages you don’t want to cut. Using a metal or metal-edged ruler and a utility knife with sharp blades, cut your niche. Do several swipes along a single line, going deeper each time. I usually do one light cut to establish my line, a second one, and then remove the ruler and do all the rest of the cuts along that line. When you think you’re down deep enough, move to the next line and repeat, working your way around the niche. On the last cut, it’s helpful if your ruler is being pressed onto the niche to hold the pieces in place. Remove the interior pieces gently. If they’re not cut far enough, don’t tear them—just use your knife to cut again until they come loose. Keep clearing away layers until you have a nice neat hole.
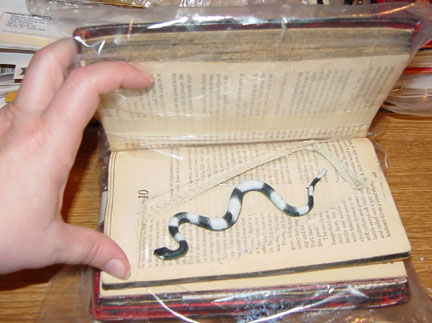 Place your object in the niche one more time to be sure it’s the right size. Remove the object and run a bead of tacky glue around the cut page edges on the inside of your niche. Smear the glue with your finger just like you did along the outer edge of the book. Close the book and weight it. Let it dry over night.
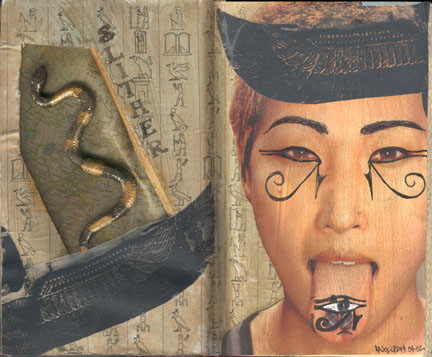 This is how my finished book page looked. Since each page is unique, what I did to finish this out may vary from what you have in mind. Here’s what I did:
First, I painted the interior edges of the niche with a dark acrylic paint. When that was dry, I glued an old map behind the niche, and then glued my niche pages down to the finished pages behind them. I toned the map and sides with some colored glaze. When all that was dry, I glued my snake in place.
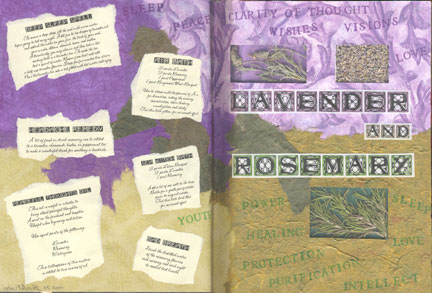 Want your niche to hold something loose like herbs or petals? Leave the top page of the niche loose from the rest, or cut a decorative paper the same size as your page, with a hole where your niche is. Fill your niche, then cover it with nylon tulle (that’s bridal netting, available at most fabric stores and Wal-Mart). I seal my edges with a wide bead of tacky glue so none of the stuff in the niche leaks out. Cover the tulle with your loose page or decorative paper.


