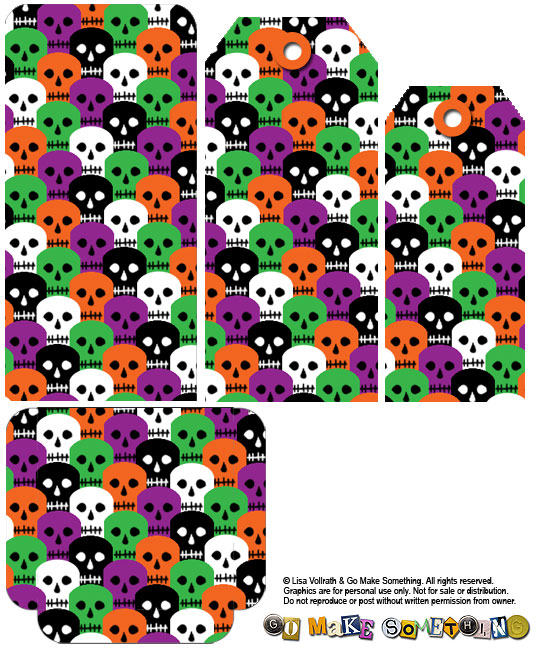
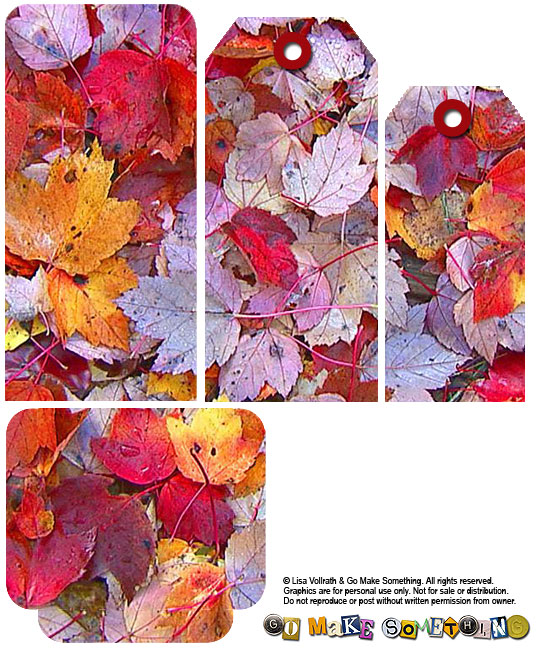
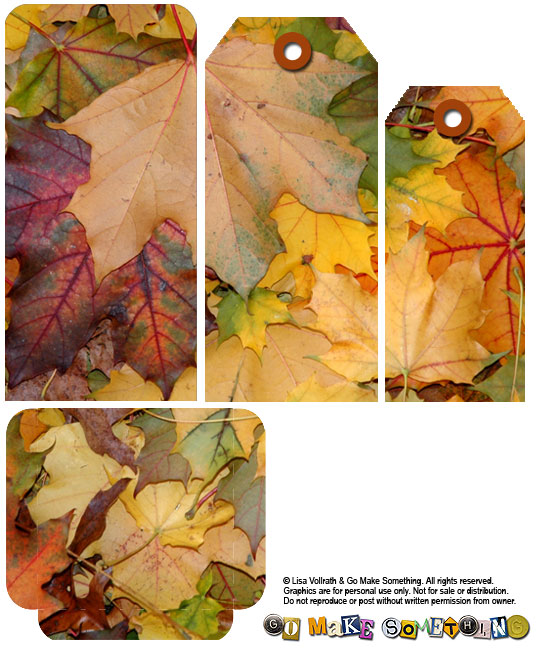
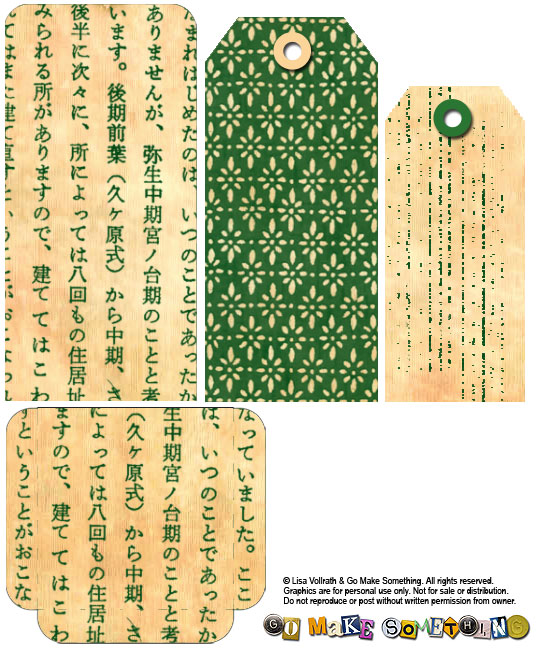
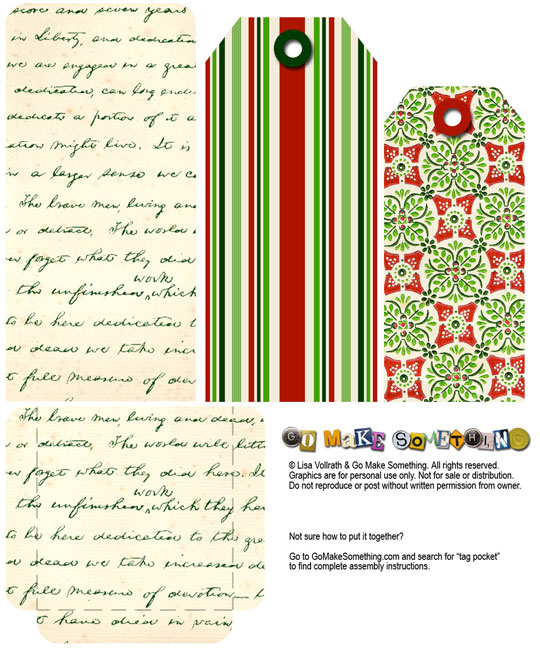
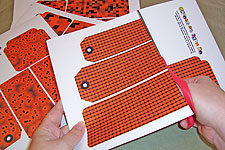
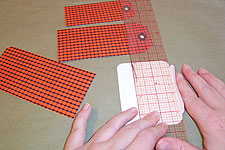
 Print out the tag pockets on index or cardstock. Each sheet contains two tags, plus the two part pocket. Cut all the pieces out, and set the tags aside.
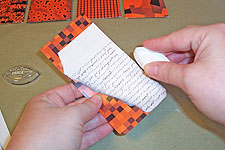 The longer of the two pieces is the back of the pocket. It doesn’t show much when the tags are tucked into it, but you might want to decorate it a bit anyway. Now is a good time to do that—it’s a little cumbersome to collage on it once the front of the pocket is applied. I added some torn text paper to this one, and toned the edges with chalk inks.
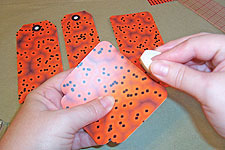 The smaller of the two pieces is the front of the pocket, with tabs on the bottom and sides that will be folded back. I wanted to tone the top edge, which is easier to do before the pocket is assembled.
 OK, let’s get on with folding. Fold the bottom tab first. I use a straight edge for this—just line it up against the bottom edge line, and fold the tab. Remove the straight edge, and crease sharply. Some people use a bone folder for this—I can never find mine, so I use the back of my thumbnail.
 Center the back pocket piece on the front, and fold the side tabs over it, as shown. Apply glue to just the tabs, and press them onto the back of the pocket. Let dry flat before handling further.
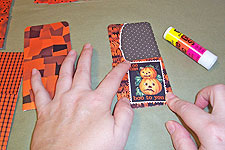 Now’s a good time to decorate the front of the pocket. I applied a faux postage stamp to this one, glued at an angle. The pocket front is a great place to make a statement. You might put a message here, or embellishments that indicate your theme.
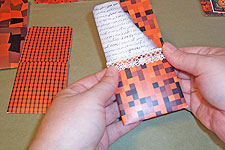 Accenting the top of the pocket with ribbon, lace or trim is fun. I applied some crocheted lace to this pocket by just swiping my glue stick along the back of the lace, and pressing it down. The key to working with fabric and lace on paper is working quickly. Get the glue on there in one or two swipes, press in place, then leave it alone until it dries. Handling will only muck it up.
Examples
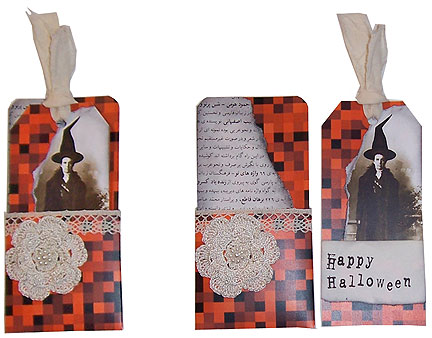
There’s nothing that says you have to use both tags. Here, I put aside the smaller tag for use on another project, and decorated the larger one with an image from the Which Witch collage sheet from Ten Two Studios, adding a message stamped on torn paper, and a bit of torn fabric through the top hole. The pocket is decorated with some bits of crocheted lace, and torn Arabic text paper. Notice how all the additions are light—this helps tie the project together.
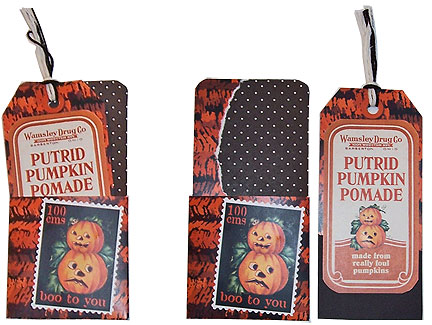
This set keys off the colors of the faux postage stamp, adding black dot paper to the pocket, and solid black to the bottom of the tag. This is also echoed in the black and white fibers used at the top of the tag. The Boo to You stamp and creepy label are both from collage sheets available at Ten Two Studios.
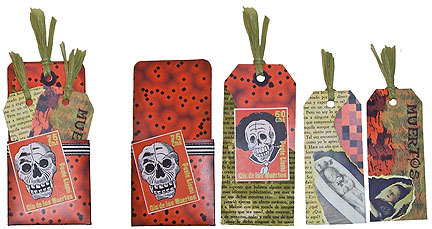
I grabbed some of the extra little tags from the other sets for this project, which mixes some of the Ten Two Studios faux postage stamps with images from the Dead People collage set. The stamps have a splash of bright green in them, so I used that as my accent color all the way through, collaging with some bright green mulberry paper, some Spanish text brushed with green ink, and tying the tags with green paper ribbon. Notice how the stamp on the front of the pocket peeks up over the top edge, to break up that hard, straight line.

This one is plain and simple, with all black additions: black backing on the tag cut just a tad larger to create a border, black script stamping, a black crow, and black sheer ribbon on both pieces. The bow on the tag is held in place with a black brad through the center.
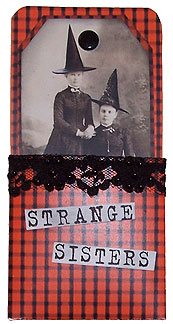 Tags don’t always have to come out of the pocket. Here, I’ve used a black brad to permanently attach the tag to the pocket. The words are stamped on a scrap of paper and applied to the pocket, which is decorated with a scrap of black beaded lace.