 I make a lot of my own gift wraps and packaging, because I have to accomodate lots of different holiday celebrations, and friends with interesting names and spellings: it’s almost impossible to find something suitable and personalized for a friend named Raven who celebrates winter solstice, or for my favorite little girl Alyssa. I decided to turn my overflowing collection of wood craft sticks from the dollar store into some personalized gift tags.
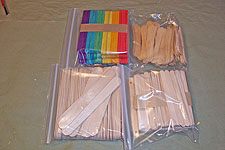 Yeah, I have a few craft sticks. I buy these at my local dollar store. Who can resist a big pack of them for a buck? These some in plain wood or colored popsicle sizes and plain tongue depressor size. I also have a little bag full of shaped sticks from my favorite low-carb ice cream bars.
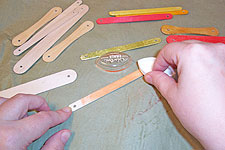
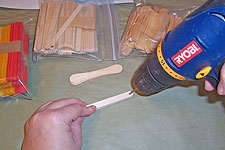 First, I drilled a hole on either end of the sticks. The hole just needs to be big enough to squeeze some fibers, ribbon or twine through later. Stack up a bunch and drill all at once to save steps.
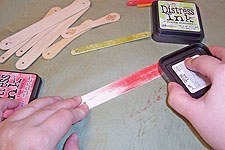 Wood colors nicely with Distress inkpads. The ink almost acts as a dye, letting the wood texture show through. Just drag the pads across the sticks, and rub in a circular motion anywhere that seems to resist the ink. Be sure to color the sides and ends of the sticks, too. Let the ink dry completely before stamping!
 Wood also colors nicely with chalk inkpads. The color is a bit more opaque, and less vivid. With either ink, be sure to use light or bright colors rather than darks, unless you want to emboss your lettering to make it readable.
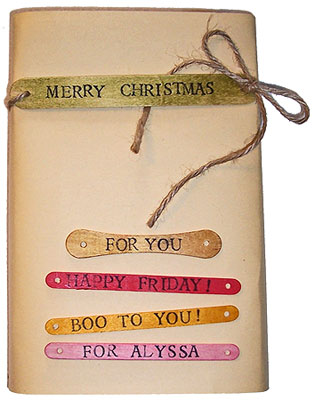
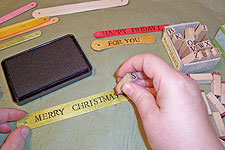 Once the ink was completely dry, I used letter stamps and some black ink to stamp my messages. I should have done some using embossing powders, to get gold metallic lettering!
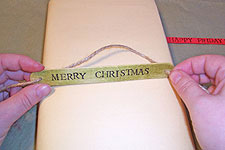 To attach the tag to the package, slide ribbon, fibers or twine down through one hole, across the back of the tag, and up through the other hole, leaving a long tail.
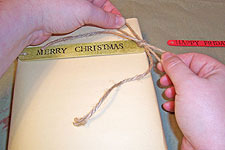 Wrap the twine around the package, and tie in a bow or knot on one side.


