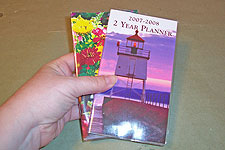
 Here’s what I started with—your basic, ugly, dollar calendars. If I’m going to be stuck with carrying one of these around for two years, it had better be pretty! Luckily, these have clear vinyl covers that slide off. I think that means they’re asking to be altered.
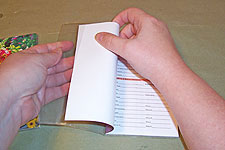 First, slide the calendar out of the vinyl sleeve.
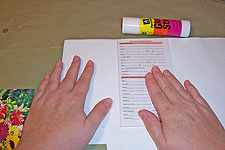 Now, if your cover is really ugly, like my lighthouse calendar, you might have to cover it completely. I used a big scrap of scrapbook paper from another project, and just opened the calendar flat, and glued it down with some glue stick.
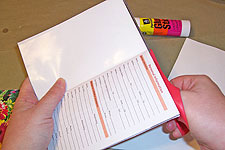 Trim to size, and the ugly cover is gone!
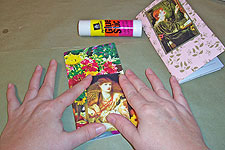 My other calendar was a floral, which was nicer, but still had ugly text to cover. Since I was planning to glue some large images on the covers anyway, I left the floral alone, and artfully glued my image over the ugly text. (These images are from the Rossetti Tin sheet from Ten Two Studios.)
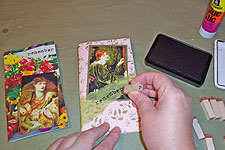 Next, a little text. I liked the word Remember—something arty, but still in keeping with the fact that it’s a calendar, and will probably be used for tracking appointments. I just added a few scraps of paper, and rubber stamped the text in place. If you’re not stampish, you might want to just print some text out on your computer.
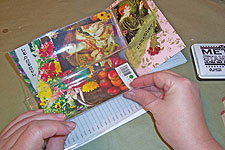 Once the glue and ink were dry, I could slide the vinyl covers back over the finished calendars. How clever of the manufacturer to provide protection for my collage!
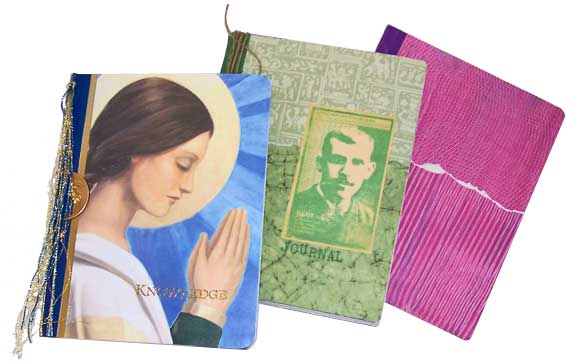
Here are the finished results:
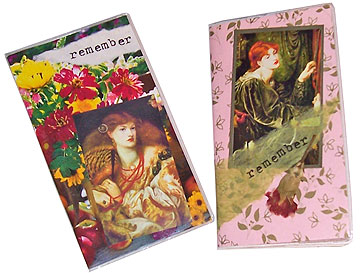
Much better! These took me all of five minutes to dress up. Wouldn’t they make great stocking stuffers?

