
Every year at this time, I swear I’ll start some sort of paper journal. I’ve joined two different paper journaling groups on LiveJournal this week—but I haven’t started a journal yet. However, I have covered a couple of composition books.
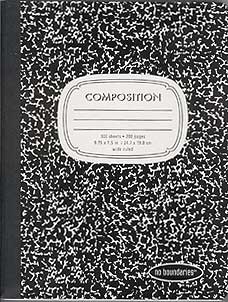
Comp books are good, inexpensive journals. You can find them at dollar stores, and at almost any store that has a school supply or office supply aisle. I buy them when the back to school stock up season hits, when they’re plentiful and cheap.
The minus to comp books is that the paper really doesn’t lend itself to many wet art techniques. If you like to paint, a comp book journal may not be for you. I tend to do a lot of gluing, so background paper doesn’t matter much to me.
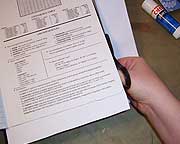
OK, to make your own covered comp book, you’ll need:
- A composition book
- Patterned papers or a gift bag for the cover
- Colored duct tape – I found mine at Wal-Mart, but some hardware stores now carry this as well
- A glue stick
- Fibers (optional)
- Rubber stamps, inks, embossing powders (optional)
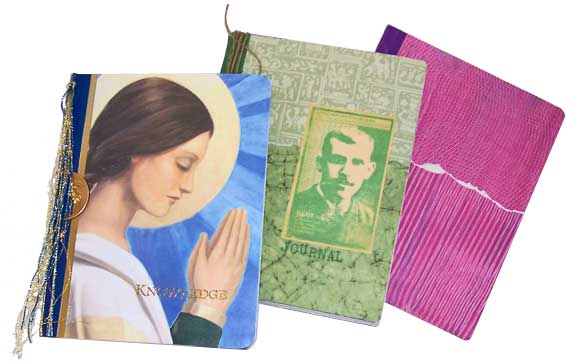
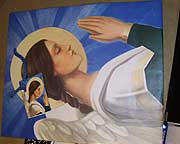 I decided to cover one journal with a gift bag I bought at the dollar store. Gift bags are great for journal covers, because they give you two images printed on heavy, glossy paper.
To use the gift bag as a cover, I had to flatten it out and cut it apart, into two separate pieces—one for the front of the journal, and one for the back.
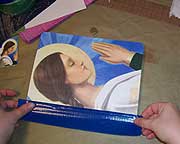
 To decide placement, I plunked my journal down on one of the gift bag images, and sort of eyeballed how much I’d be trimming away on either side. My goal here is to make the most out of the image, while also avoiding having anything important stuck underneath the spine of the book. I use the width of the spine strip on the comp book as my guide for the image, since my finished spine will be just slightly larger.

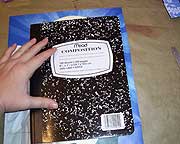
 When I know how the image will be placed on the book, it’s time to glue everything together. I usually start with the back side of the book, applying glue liberally to the cover, all the way up to the spine strip. I pay particular attention to the outer edges, since they’ll get the most wear and tear.
 I trim away the extra paper with scissors, including any excess that’s covering the spine strip. Usually, I can just fold along the edge of the strip and then cut on the fold. That gives me a nice, straight line for the new spine to cover.
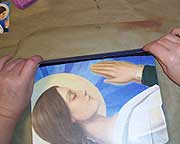
 With both the front and back of the book covered, I tear off a piece of colored duct tape that’s slightly longer than the spine, and cover the front side of the spine. The tape overlaps the edge of the image on the front cover just a little bit.
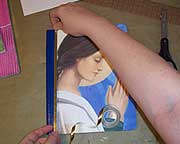
 Flip the book over, and pull the tape around the spine to cover the back. This might overlap just a little bit more of the image than the front. That’s OK.
 Trim the excess tape and the top and bottom, even with the edges of the book. It’s duct tape, so unless you really pick at it, it won’t fray, even with heavy usage.
 I decided the blue of this tape was a little stark agains my image, so I just put a strip of gold metal tape along the edge. It looks like I planned it that way. I also tied fibers around the front cover, against the spine, and added some charms hanging from them. I stamped the word knowledge on the cover with gold, and embossed it. Quite a lovely journal for hardly any investment in time or materials.
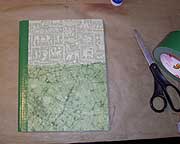 This journal was covered with some handmade papers. I had two sheets of 8-1/2 x 11 paper, so rather than use one on the front and one on the back, I tore them in half, and did two toned covers. It all went together the same way as the first journal—glue papers to the cover, trim, tape the spine. Then, I did a little stamping to tie the whole thing together, and wrapped the spine with jute twine. (Instructions for the journal jar that’s with it in the large photo above are in the January 2006 issue of The Monthly Muse, available from Ten Two Studios.)


