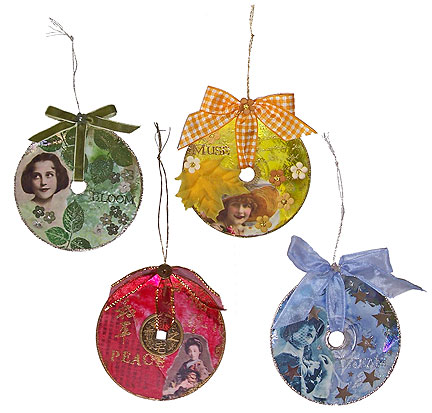

This week, I had to make a set of altered CDs for a swap. I thought I’d try something a little different: turning sections of them clear, and then coloring them with alcohol inks, so they’d remain sort of transparent in places. Here’s how I made them:
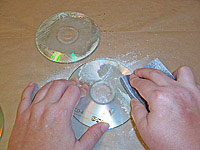 First, I took a sanding block to the fronts of the CDS. Most CDs are really clear disks coated on one side, and the coating really isn’t that hard to remove. A few strokes with the block to break the surface, and the coating pretty much chips away in big chunks. I didn’t bother removing all the coating—just whatever came off fairly easily.
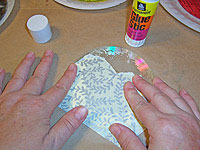 In keeping with the sort of transparent them, I used printed tissue papers to decorate some sections. I applied it to the unsanded side of the CD with a little glue stick.
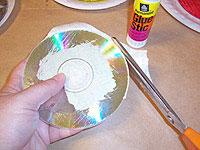 I like preserving both the outer and center circles when I alter CDs, so you can stiil see what it used to be. I just trimmed off the excess paper around the outside edge with scissors. The center was easy to remove by just dampening my finger, and pressing it along the inner edge.
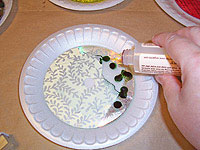 To color each CD, I dripped a few drops of alcohol ink on it, and then a few drops of extender.
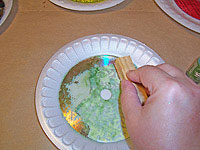 A little pounding of the color and extender with a felt pad gave a nice, uneven color to the CD and paper.
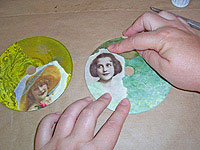 Each CD got an image, torn from one of my color-themed collage sets from Ten Two Studios.
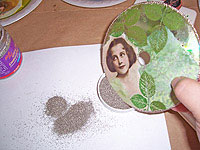 I edged the CDs with embossing powder by rolling it across an embossing inkpad, and then dipping it into the powder. I also did some stamping and embossing on the CD fronts.
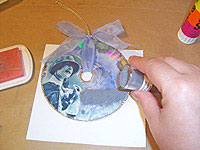 Each CD also got a word stamped and embossed on it.
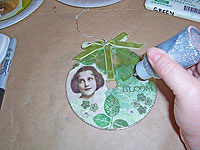 I didn’t want to make the CDs too lumpy and bumpy, so stuck to mostly flat embellishments like flowers and glitter glue. I also added a bow to each CD, and a hanging loop, so they can be used as ornaments.


