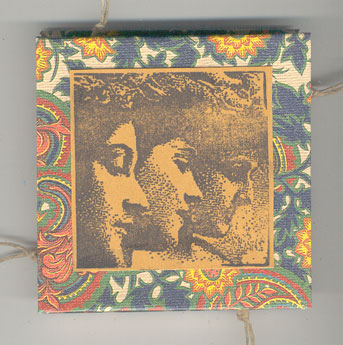
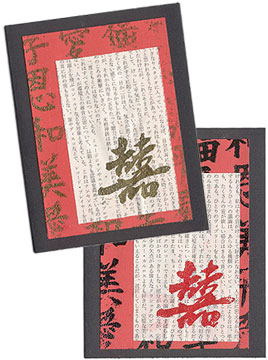
 Many rubber stamp companies offer beautiful photo-realistic stamps made from vintage photos. Stamping with these is easy, if you make the right paper and ink choices, and do a little prep work.
Very often, the first impression from a stamp will not be satisfactory due to the traces of releasing agent still left on the die from manufacturing. Clean your stamp first, then ink it and stamp it several times on scrap paper. Gently rub any areas on the stamp that are not showing up in your stamped image, or places on the design where the ink is puddling. Once the stamp is completly clean, it should be free of islands and puddles.
Choosing Your Ink
For the clearest image, choose a dye ink that’s not too wet. I like Memories or Frescos for photo-realistic stamping, and I avoid my very wet Ancient Page pads if I want a crisp image. Pigment inks are usually too thick for this type of stamp, and will muddy the details. It’s not generally wise to emboss photo-realistic stamps, since the combination of embossing or pigment inks and embossing powders tend to blur the details of the stamp.
Choosing Your Paper
To get the sharpest detail from your stamp, choose a paper that’s not too absorbant. Photo-realistic stamps look great on glossy paper, or paper with a matte coating. Some cardstocks will work well, but it’s best to test first to see if the ink is absorbed into the paper rather than sitting on the surface. Avoid papers with texture, since this will blur details. Also avoid plain copy or printer papers, since these tend to be designed to absorb inks.
One word about glossy papers: if your stamp has a large area of solid color, your ink may puddle. There’s not really a cure for this, since glossy paper does not absorb the ink evenly. Try a matte coat paper or cardstock instead.
Stamping Your Image
To get an even coating of ink, place your stamp on its back on your work table, and pat the ink pad onto the rubber. Be sure every surface of the rubber gets an even coating of ink. I hold my stamp up to the light and make sure all the raised surfaces look shiny before I make my impression.
To stamp your image, keep the stamp perpendicular to your paper, so that all the rubber surfaces touch the paper at the same time. Press your stamp down onto your paper firmly, without tilting or grinding. A good, firm push will give you a clean image. Lift your stamp straight up, holding your paper down with one hand. You should have a nice, clear image.


