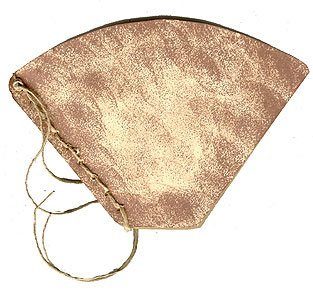
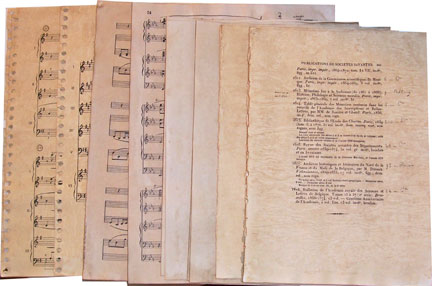
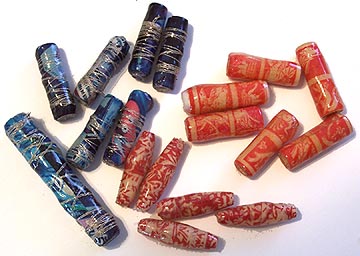
I’ve received several booklets in the mail that were aged with coffee. I love the look, and as a bonus, they also have a delicious smell that sticks with them for quite a long time. What could be better than that? For fun, I decided to do my own coffee staining:
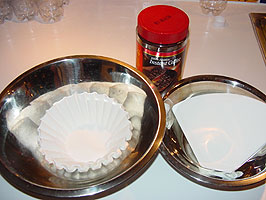 I’m going to try staining some coffee filters. Makes sense, right? Coffee filters are designed to hold up against hot water and soaking wet coffee grouds, so they should provide a sturdy surface for some paper projects. They’re very absorbant, so they should be receptive to staining. Here, I’ve placed my two types of filters into stainless steel bowls. It’s important to choose containers that will not be stained by a heavy dose of coffee—so, no clear plastic bowls!
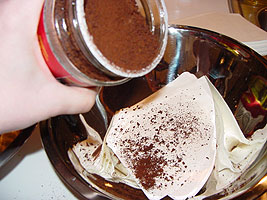 I’d like my finished papers to be speckled rather than solid, so maybe a little coffee sprinkling between layers will help this along. I do this randomly, since I have plenty of filters—there’s no buying a small package of them.
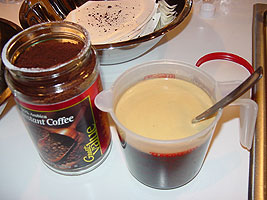 I chose a generic instant coffee for my experiment, in part because I’m not a coffee drinker, so there’s no coffee pot available at my house. I heated two cups of water in the microwave for about three minutes, and than mixed in two heaping tablespoons of coffee.
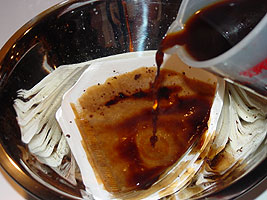 I poured the coffee onto the filters. Since I was hoping for uneven color, I just poured from the top, without worrying whether the coffee was penetrating all the layers. The two cups of coffee adequately covered my stack of filters. I let them sit for a few minutes, and then drained the excess coffee back into my mixing cup.
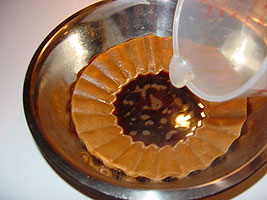 The excess coffee was poured over the second bowl of filters. These became completely saturated almost instantly. After I was finished, I wished that I had tucked some extra goodies between some of the layers. Tags might have been fun to age with this technique, or maybe a few ATC blanks. I’ll have to remember that for next time.
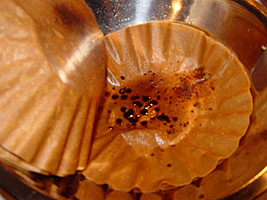 The coffee I had sprinkled on the filters before pouring was dissolving and making some nice blotches. I sprinkled more here and there to encourage the variety.
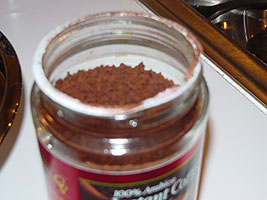 All this coffee staining, and I still haven’t even made a dent in my instant coffee! I have plenty left for later. Perhaps I’ll pour some in a bowl and tuck it under my work table where my walnut crystal bowl is. I’ve had this bowl going for about a year now—I start with some walnut crystals and add water, then do whatever work that has to be done. When I’m finished, I simply tuck the bowl back under the work table, and let the water evaporate. When it’s time for more walnut ink work, I just add a tiny bit of water, and scrub up the dark stains with a brush—instant walnut ink, with no waste. Maybe coffee will work the same way—I’ll have to try it.
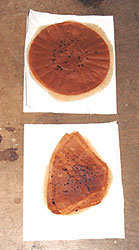 I squeezed the excess coffee out of the filters, and put them on paper towels on my garage floor to dry. Over the course of the next couple of days, I flipped them back and forth, and when they were dry enough to take some handling, I split them into small stacks to dry.
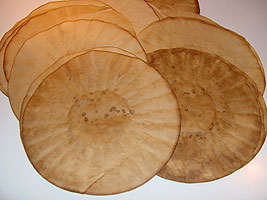 In a few days, I had this endless stack of stained filters. The round filters will make lovely background papers for collage. They tear nicely. However, they’re still very absorbant, so rubber stamping on them takes a dry ink pad rather than a juicy one. The filters dried relatively flat, with little rippling.
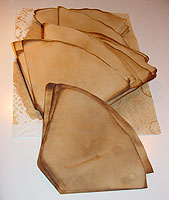 I also had this lovely stack of stained cone filters. Instant pockets! As a bonus, the paper towels I used beneath the filters while they were drying were also stained, so they’re now in my stack of papers rather than in the trash. The cone filters did ripple a bit while they were drying, so next time, I’ll try weighting them down to keep them flat.
I’ve already started a coffee filter book—instructions are on the way!

