 With the cost of good paper constantly on the rise, I feel compelled to save every little scrap leftover from my projects. After a flurry of activity, that pile of leftovers grows into a mountain. What the heck do you do with a mountain of paper scraps? Make serendipity squares!
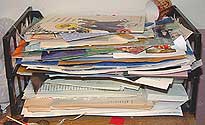
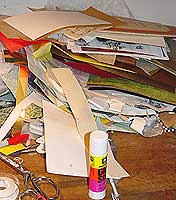 This is what the back right corner of my work table looked like this morning. Yikes! Somewhere under all this paper fallout is a set of stacking file trays, but you’d never know it now. I’ve got to clean this pile up. Since I’d rather do just about anything rather than clean, I’ll clean a little, then play a little, alternating until both the pile and the squares are done.
 First, I pull out all the big pieces of cardstock. Wow, look at all this stuff! These will make great backgrounds for my squares. I pile these together, and set them aside.
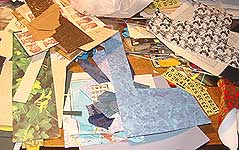 Next, I start piling the little pieces by color or theme. Today’s sorting is definitely by color: naturals toward the back, blue and green down front, and a piles of reds and black and white over to the right.
 Once I’ve sorted, I grab a glue stick, one pile of scraps, and a piece from that solid cardstock pile, and go to work. I tear random pieces of scraps, and glue them down, covering the background paper completely. The glue has to dry before I can move on to the next step, so it’s either time for a little more cleaning, or I can move on to another pile of scraps and do the same collage process to set up another set of squares.
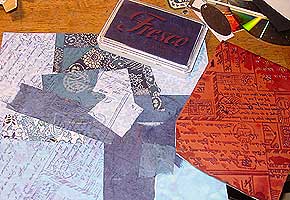 Along with the big pile of scraps, I’ve usually got some dirty stamps waiting to be cleaned. I’ve seen people do this part of the process different ways, but for me, it works best to do a layer of stamping with dye ink and a background stamp of some type, to help tie all the different pieces of paper together. Here, I’ve chosen a postcard stamp, and some blue Fresco ink, and stamped all over my scrap collage.
 Next, some shine. I grabbed an Asian text stamp and some silver Brilliance ink, and stamped here and there, then threw some pewter embossing powder on it. Unlike the previous layer of stamping, which completely covered all the papers, this one just sort of fills in some visual empty spots.
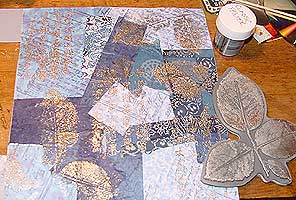 My collage used lots of solid papers, so here’s one more layer of stamping and embossing, this time with a big rose leaf stamp.
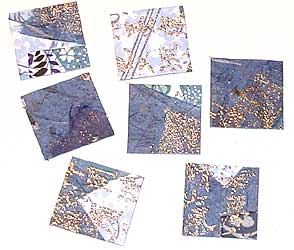
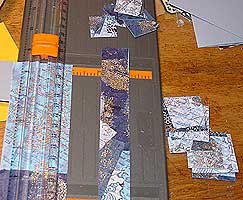 The last step is cutting. I cut both one inch and inch and a half squares from this piece. The smaller squares are great to decorate standard quarter sized cards. Big squares are good to throw in an altered book layout, or onto a deco page.
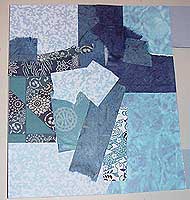
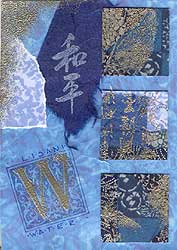 Since I had a blue deco laying on my work table, I went ahead and used this set of squares on a page. These are the larger sized squares, as they were cut. Sometimes, I’ll mount each square on a slightly larger square of solid cardstock, or edge the squares with embossing ink applied direct to paper, and a little embossing powder.
 This is what my scrap pile looks like now. Much better! I knew those file trays were under there somewhere. Now I’m ready to start my next round of projects, and another mountain of scraps.


