This week, I’ve been building a very large shrine for the nice folks at Amaco. They shipped me an armload of their products to use in the piece, including rolls of lightweight metal. You’ve probably seen these in craft stores—metals and foils in different colors, rolled up in a clear tube. They’re lovely to play with on a small scale, but I’m covering yardage here. My goal was to add some visual interest and texture to the metals, without spending all day about it. Here’s what I did:
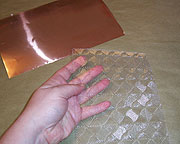 In amongst the loot Amaco sent were texture plates. Theirs are clear plastic, but other companies also make them in various colors and sizes. These are designed to texture either lightweight metal or polymer clay.
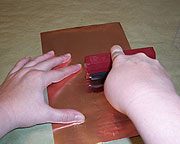 I placed a texture plate onto my work table, and put a sheet of lightweight metal on top of it. Some people might prefer to apply a little tape to the sides of the plate to hold it in place, but I just held mine in place. I rolled over the top surface of the metal with a hard rubber brayer, which raised the pattern of the plate on the metal.
 To raise the pattern even further, I rubbed over the whole surface with a large paper stump. The stump is hard enough to raise the pattern, while soft enough not to leave any extra marks on the metal. I tried this with a hard rubber stump, and ended up with creases in the metal—not pretty.
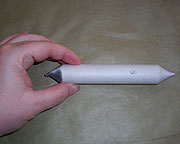 In case you’re not sure what a large paper stump looks like, here’s the one I used. It’s from a box of goodies from Ten Seconds Studio, where all good metal tools are born. A fine art supply store might also have one this large.
 My textured sheet, ready for use. My bad photography doesn’t do justice to the lovely fan patterns swirled onto the metal.
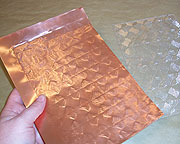
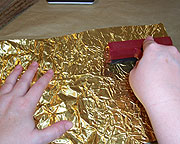
 Since the exterior of my piece is gold, silver and copper, I broke open a roll of the really lightweight gold foil. This stuff is prime for texturing, although unlike the lightweight metal, it does have to be applied to a sturdy surface after texturing, or it will crumple up like aluminum foil. I swapped texture sheets for this piece, to something a little smaller, thinking that the lighter metal would respond better to the small pattern.
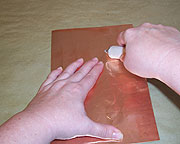
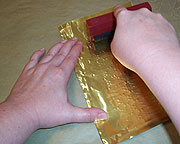 Same deal: roll with a brayer to raise the pattern. Make sure to hold the metal firmly in place if you’re not using tape.
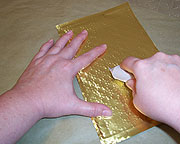 Next, a good, firm rubbing with a paper stump. You can see in this photo how defined the circular pattern is on the foil.
 I had a section of my piece that required a very large textured section. Since the plates I was sent are small, I had a choice: either try to match the patterns to texture the full sheet, or come up with a way to texture it without the plates. I decided to try something I like to do with paper.
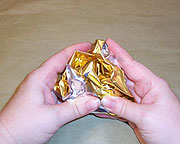 I gently crumpled the metal in my hands. It’s so lightweight that it was easy to do—but it’s also light enough to tear, so I did this carefully.
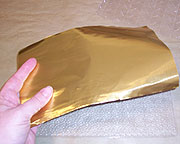
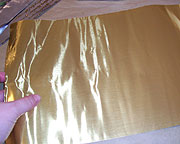
 I uncrumpled the metal, again gently and carefully to avoid tearing it.
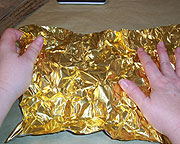
 A quick pass of the brayer over the surface flattened the metal, while defining the creases.
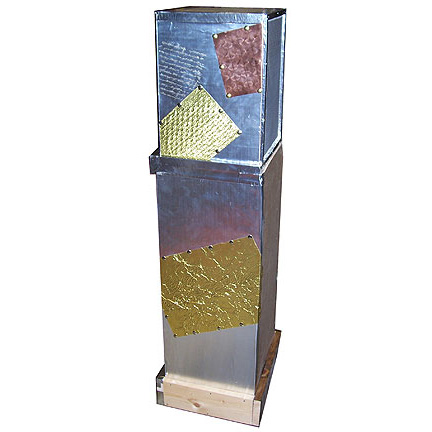
The sheets I textured above, glued and nailed into place with metal tacks, on the piece I’m building:


