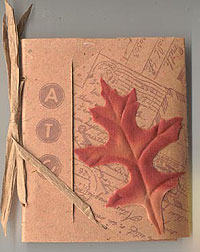
 On ARTdecos, we’ve done a couple of ATC book projects, where we’ve made books, filled them with our own artist trading cards, and then sent them around. Each artist takes one card made by the book’s originator, and replaces it with one of her own. Each of us came up with her own way of presenting her cards—here’s one way I did mine.
Materials:
Medium weight paper for pages, roughly 18 inches wide
Ruler
Corner punch
Cover stock
Scissors or paper trimmer
 To make my pages, I started with a sheet of construction paper that measured 12 x 18 inches, because I want to make several sets of pages at one time. I often pick up pads of this—it’s big, inexpensive, and works well as the base of many deco projects. The key to this book is finding a paper that’s lightweight enough to fold flat, but strong enough to hold the weight of the cards, and take a little handling. Choose accordingly.
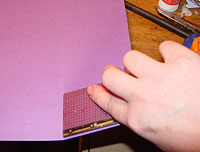
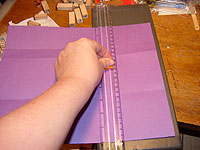
Place the paper on your work surface with the long edge in front of you. Using a ruler, measure off 3-1/4 inches from the short edge, and fold. I just use my ruler to make a crease, so there are no marks on my paper.
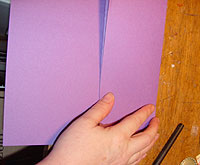 Using your first fold as a guide, fold the paper back and forth, creating an accordian. You’ll end up with folded pages that are 3-1/4 inches wide x 12 inches tall.
 Keep folding the full length of the paper. Your last fold will be a thin one—that’s OK. This will be the piece that attaches to your cover.
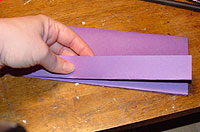
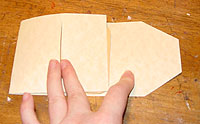
 Now it’s time to cut your pages to the correct height. Trim them to 4 inches. I do this by opening up a few folds, then cutting with my paper trimmer. Since my paper is 12 inches high, I can get three sets of pages from one sheet of paper.
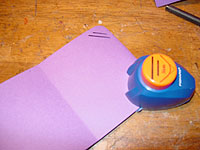 Punch slots to hold cards using a corner punch. I use just a plain, straight corner punch for this.
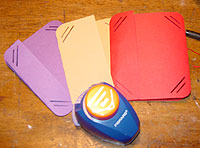 Like I said, I wanted to make several sets of pages. I ended up using three different colors of paper for nine sets of pages. I don’t always use them all at once—I’ll tuck the extras in a drawer to use later.
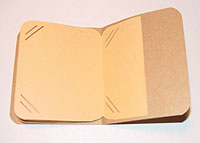 To create a simple cover, just fold a piece of cover stock and trim to 4-1/4 high x 3-1/2 wide. Glue the little tab portion of your pages to the inside back cover as shown.
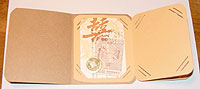 Flip the pages into position, covering the tab. Decorate the covers, and fill the book with ATCs.
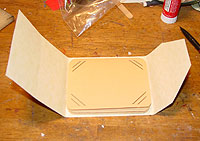 Here’s another one of the world’s simplest covers. Cut a piece of cover stock 11 inches wide x 3-1/2 inches tall. Fold the cover 4 inches from the left edge. Place a set of pages just to the right of the fold. Remember that little short tab? Glue that down to the cover, allowing the pages to expand out from it. Fold the remaining cover piece over the pages. Unfold this shorter flap, and cut as shown to create a tab.
 Cut a long slit in the larger flap, and tuck the tab into it to hold your booklet closed.


