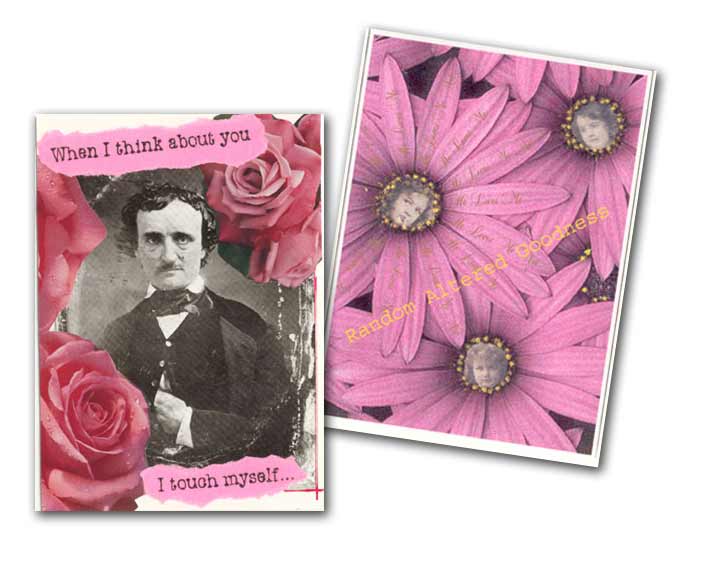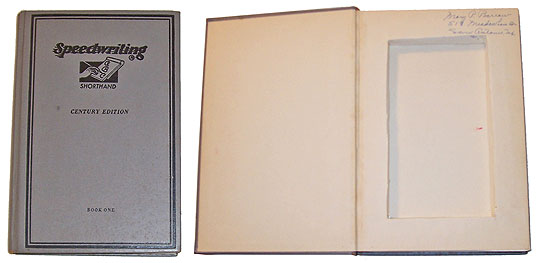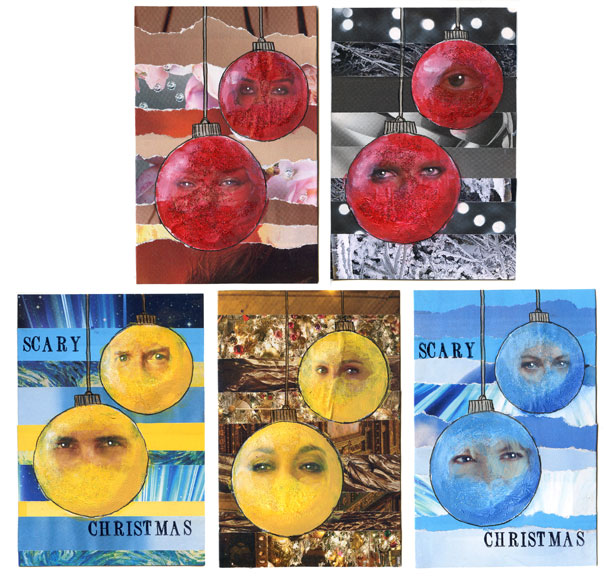
I love creating my own handmade postcards. They go together quickly, and are inexpensive to send. What’s not to like?
In the US, the Post Office has a few basic rules for postcards, if you want them to be eligible for the special reduced postage rates.
Postcards must be:
- Rectangular. Not square, and not any other shape, and no rounded corners.
- At least 3.5″ tall, 5″ long, and .007 thick.
- No more than 4.25″ tall, 6″ long, and .016 thick.
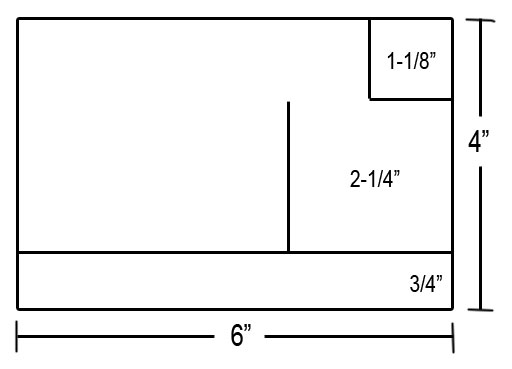
In addition, there are rules about the back side:
- The bottom .75″ must be left free of images or text.
- A 1.18″ square in the upper right corner must be free of images, to hold a stamp.
- The address of the recipient must be on the right side of the back, no more than 2.25″ from the right edge.
My Favorite Bases
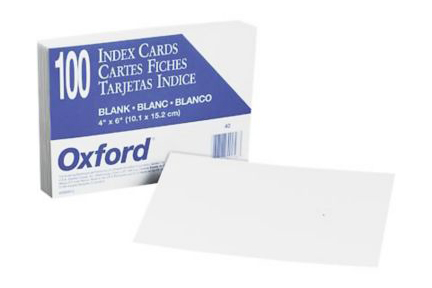 Index cards make great postcard bases, because they’re already cut to a size the Post Office will accept. I use three blank, white, 4″ x 6″ cards to construct my handmade postcards: two, glued together, to hold the artwork; and a third, with lines drawn on it, to attach to the back at the end, covering up all the uglies left behind by gluing or painting.
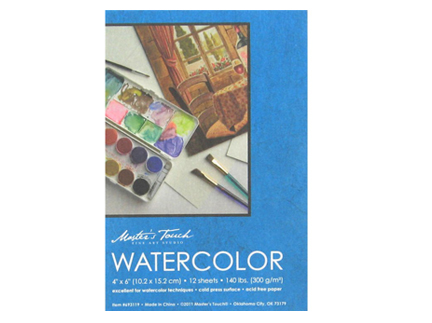 Watercolor paper. I buy house-brand, 4″ x 6″ watercolor pads at Hobby Lobby. At 12 sheets for $1.99 (or $1.19 if I use a 40% off coupon), they’re a steal. Other companies sell postcard-sized art papers, but they’re often insanely expensive.
I know some people like to make their postcards from old cereal boxes, but honestly, I can’t be bothered with all the cutting and prep. I’d rather grab a pack of index cards at the dollar store, and let a machine do the perfectly rectangular cutting.

