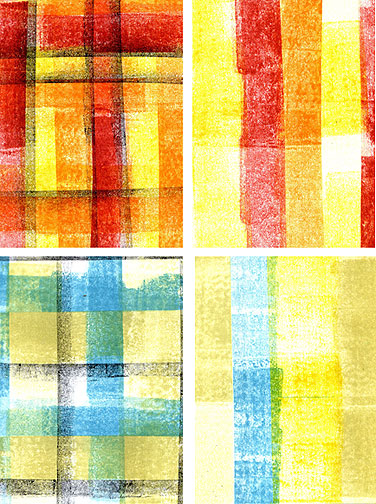
 For the last year or so, I’ve been on a real make my own background kick. I’m always on the lookout for a new way to create my own patterns and textures, and blend my own color palettes. When my brayer and Distress inkpads were both laying on my work table, I decided to see what I could whip together with them. I discovered I could do stripes and plaids pretty easily. Here’s how:
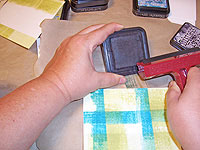
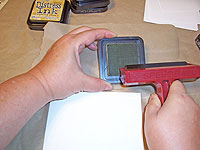 I worked on quarter sheets of cardstock, thinking I could use this size later for card fronts, or cut them down for tags or ATCs. I started with the lightest color of those I’d chosen, and inked up just about an inch of my brayer, by rolling it along the side of the pad.
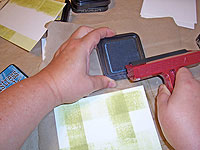
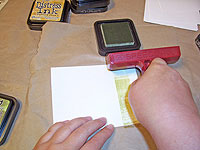 With my cardstock on a slightly padded surface, I rolled a stripe from end to end. The color doesn’t seem to lay down perfectly even. That’s OK. I reapplied the ink, and rolled another stripe, working my way down the cardstock.
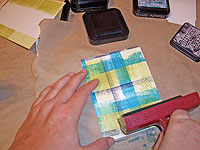
 To make a plaid, I simply rotated the cardstock 90 degrees, and applied another set of stripes with the same color.
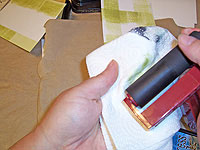 When I was finished with the first color, I spritzed the brayer with a little water, and wiped it clean with a paper towel.
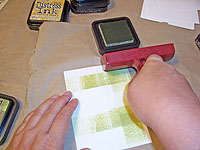
 The next color is a little darker than the first. I worked with it the same way, applying color to just a small section of the brayer.
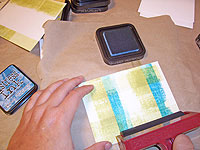 I applied stripes, lining up the edge of my brayer with the edge of the previous colored stripes. This kept them nice and straight, and made a regular pattern. For the plaid, I rotated the paper 90 degrees, and applied more stripes.
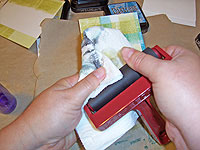 When it was time to change color, I just spritzed and wiped again. Distress inks are water based, so clean up is very quick.
 Next, I chose a dark color, and applied ink to a very narrow section of the brayer.
 This made very fine stripes, which I rolled along the edges of one of the previous colors.
That’s it! Quick and easy. It took me about 10 minutes to whip together a stack of backgrounds.


