 I recently signed up for a printmaking swap at ATCsForAll, with the intent of carving some stamps. I found myself dreading this as the deadline grew closer, and kept putting it off. In my world, that’s a sign that I should abandon my original idea in favor of something that sounds like fun—so, here we are, with finished cards made by creating patterns in styrofoam plates. This was infinitely faster and less stressful than carving stamps, and a great deal of fun.
Here’s how I made the cards:
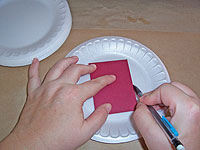 I started with an ATC sized base, cut in cardstock. I placed the base on a small styrofoam plate, and traced around it with a pencil. I always have these plates laying around my work room, because I use them as pain palettes—I buy them in gigantic stacks at my local dollar store.
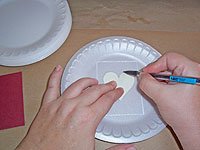 Next, I cut a heart shape from a scrap of paper, and centered it on my ATC tracing. This technique really lends itself to tracing around shapes, so if you have some fun paper punches around, punch out a few pieces on scrap paper, and see where that leads you.
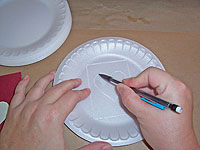 And important thing to know at this point is that wherever you press down with your pencil will not be inked in the finished stamp, and wherever you don’t press will be. So, if I’ve traced around my card and heart, all I’m going to get is white outlines of those shapes. Not exactly the most interesting design! I decided to cross-hatch the heart, using the pencil to make lines across it diagonally in on direction, then diagonally in the other. I also broke up the background around the heart by adding different sized dots.
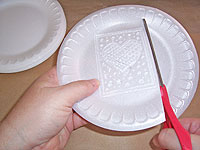 Once I had a design I thought I’d like, I was ready to get down to printing. First, I cut the design away from the plate, to create a flat piece.
 I used some waterbased printing ink for this project. It’s sort of like acrylic paint that’s the thickness of cake frosting. I’m sure you could do this with acrylic paint, too. The key is to use just a little bit of paint or ink, and spread it thinly.
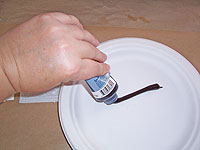
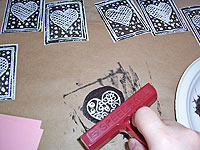
 Here’s where the spreading part comes in: I used a hard acrylic brayer to spread the ink in one direction, then the other. Then I loaded the brayer with ink, making sure it did one complete revolution across the surface.
 To ink up the styrofoam, I rolled the loaded brayer across the surface several times, making sure all the raised areas got a little ink on them. Now I can finally see what my design will look like.
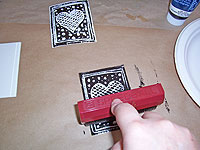
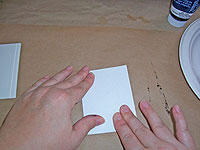 I had some pieces of white cardstock, cut just a bit larger than finished ATCs. I place a piece of the cardstock onto the inked design, and pressed down, making sure I touched all parts of the design.
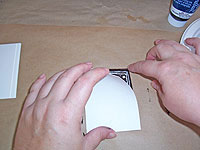 I slowly peeled the cardstock and styro apart, and set the wet print aside to dry.
 For each print, I inked up the design again, to get a nice, dark impression.
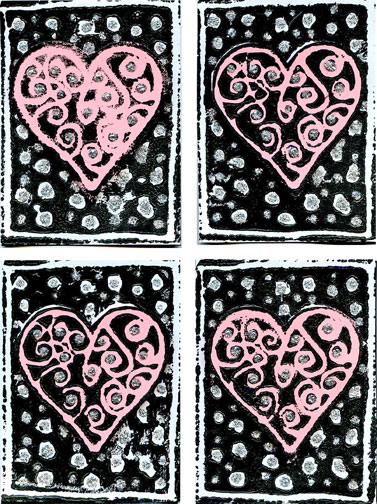
 I wanted to have a little fun with my cards once I’d mastered my technique. I drew another heart shape, and filled it with swirls. I printed this design on some rose colored cardstock.
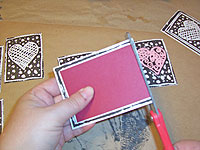 When all the prints were dry, I trimmed them to size. The cards were trimmed using an ATC blank, which I then glued on the back of the card to make it more solid. The hearts were trimmed close to the edge of the design, and applied to the finished cards with foam dots. I added a few dots of silver glitter glue here and there.


