
 Now, I could have just whipped out any one of the bazillion sheets of faux postage I sell at Ten Two Studios, and made ATCs with them, but I was in the mood for something new. I decided to create faux postage stamps from pieces of paper instead, turning them into collages that represented postage stamps. Here’s how I made the first style, shown at right:
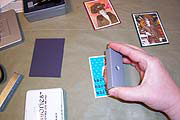
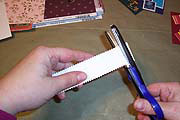 I thought of this card in terms of layers, with each layer getting progressively smaller. I decided to mount my ATCs on solid backgrounds, cut at the standard 2-1/2 x 3-1/2 inch size. On top of the background, I placed a layer of plain white cardstock cut with scalloped scissors at about 2-1/4 x 3-1/4 inches.
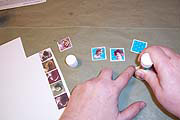
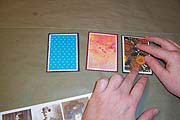 On top of the white scalloped layer, I put a printed paper, which acted as the background for my stamp. These pieces were cut at roughly 2-1/8 x 3-1/8 inches. I found through trial and error that lighter backgrounds worked better than darker ones.
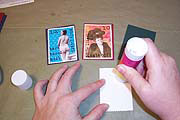
 On top of the backgrounds, I placed figures that had been sized to fit, and cut out to eliminate their backgrounds. I tried to position these to one side rather than centering them, to allow room for a little text.
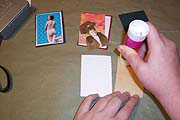 When I was happy with the placement, I glued the three stamp layers together, using a glue stick. For now, I left the stamp collage separate from its background, because I’m sort of a messy stamper.
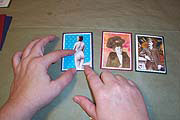
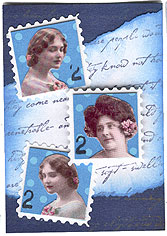
 I stamped some text onto the faux postage collages—some words, and a denomination. I used my new magnetic alphabet from Making Memories, which was this week’s impulse purchase.
 When I was finished stamping and all the ink had dried, I mounted the faux postage collage onto its background.
 This is the second style I made, using my little 1 inch collage square backgrounds from a few weeks back. I received a few of these from other people that reminded me of postage stamp designs, so I decided to make my own, adding the scalloped border. The process is pretty much the same as the stamp made above—just quite a bit smaller:
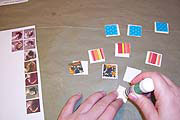 I cut white paper with scalloped scissors, and mounted the 1 inch squares. After making a few, I found that it was easier to cut the 1 inch square, mount it on white cardstock leaving a border around each side, and trim it down with scalloped scissors.
 I cut around some tiny figures to eliminate their backgrounds, and mounted them onto the stamp backgrounds.
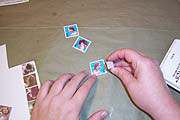 I stamped a denomination on each faux postage stamp. There wasn’t much room for text—although, I probably could have done this with words and numbers cut from magazines.
I mounted the stamps on some full-sized ATC backgrounds cut from solid cardstock, and embellished with a little stamped and inked paper. To add a little dimension, I mounted the top and bottom faux postage stamps flat against the card with glue stick, then added the third one sort of floating above the others with a piece of double-stick foam tape.


