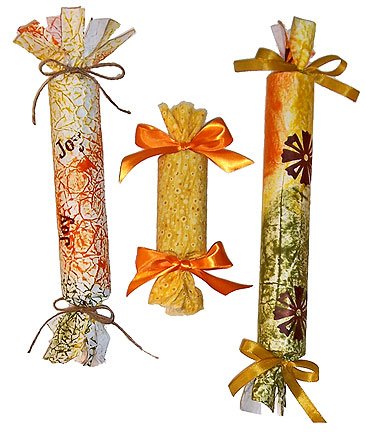
 These firecracker-shaped packages all hold small items like embellishments, fibers, and jewelry. I’ve tucked them into cardboard tubes like those inside paper towels or gift wrap rolls—but I’ve done these in even larger tubes like Pringle’s cans or round powdered drink cannisters. I like working with the cardboard tubes best, but in a pinch, tin cans will also work.
The trick to doing this type of packaging is to choose the tube based on the size of the largest gift that will be tucked into it. I also like to hide the tube as much as possible—so, the wrapping will be permanently attached to the tube, and won’t fall away during unwrapping to reveal your clever protective packaging.
 Let’s find the right tube to start. I’m going to put a couple of rolls of fibers, some metal clips, a tin of brads, and a little bottlecap pin in the first tube. I’ve already checked to be sure the tin will slide into the tube, so all I have to do is line the items up to figure out how long the tube should be.
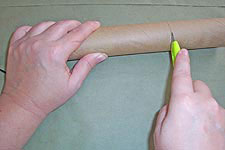 A quick slice with a craft knife is all it takes to adust the length of the tube. Don’t throw the extra away until all your gifts are wrapped. You never know when a little section will come in handy.
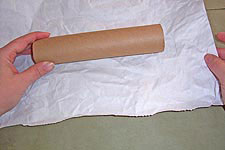 Next, I need some wrapping. I’ve used plain white packaging paper for two of the samples, and fabric for the third. I reccomend using paper that’s soft, but sturdy, or plain cotton quilting fabrics. Gift wrap is often too flimsy to be tied at the ends of the tube, and may end up tearing. Go to the dollar store and get a roll of plain white or brown paper—it’s the ideal weight and softness, and you can wrap a bazillion gifts with it.
I can’t really be bothered with measuring, so I usually just plop a tube onto a piece of paper, leaving 4 to 6 inches of excess on either end, and cut to size. Be sure the paper will wrap around the tube with a bit of an overlap—I usually leave about three inches extra for this, just so I won’t worry about it not fitting.
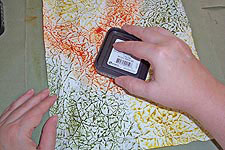 I wadded up the cut paper into a ball, then flattened it out and wiped some Distress inks all over it. So much for it being plain! I wiped the ink over the paper for the second tube without wadding it up. Use your favorite inky background technique here, as long as it doesn’t make the paper too stiff or crunchy.
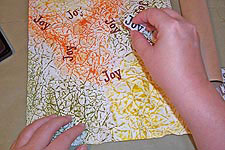 Maybe the paper needs some designs or words on it. Stamp, draw, collage or paint away—again, as long as it doesn’t make the paper too stiff or crunchy. If you feel the need to emboss or do a lot of collage, do it in the area the tube will cover, rather than down at the ends where the paper will be cut and tied.
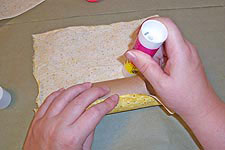
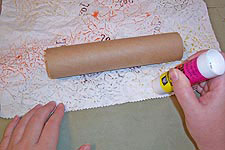 When the paper is dry, apply a line of glue stick along one edge, just as long as the tube. Place the tube on it, and it’s ready to roll.
 Glue a little, roll a little, until you get to the other end of the paper. Apply glue along the edge, just as long as the tube, and press it in place.
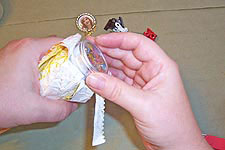
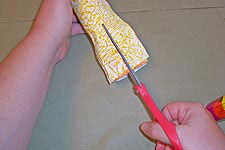 When the glue has dried, clip the excess paper on the ends, from the edge to about an inch from the tube. Leave that inch intact so you’ll be able to tie easily.
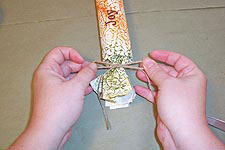 Tie the bottom end of the tube. I used jute twine and ribbons for my samples, but anything soft will work. Try to avoid tying with anything like wire or stiff ribbon that might tear or cut into the paper.
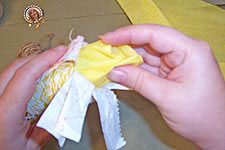
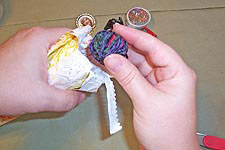 Now it’s time to fill. I like to start with something soft, to protect the bottom from potential tears. How about a roll of fibers or trim? Or a little stuffed animal?
 Next, the tin of brads. I opted for a tin rather than some other type of packaging for two reasons. First, the brads rattle nicely in the tin, so my tube will be noisy when it’s picked up. Second, I know my friend with like using the container as well as the contents in her artwork.
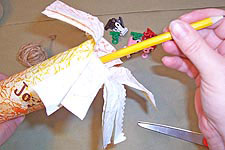 I use the eraser end of a pencil to persuade items all the way down to the bottom of the tube.
 These metal clips need to be contained a little so they won’t scratch up the top of the tin, so they go into a little bit of tissue paper.
 The tissue paper full of clips goes right into the tube. I also wrapped the pin in tissue, and added it to the tube.
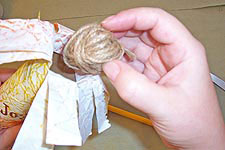 Another ball of fibers goes into the top of the tube. Something soft to protect the top couldn’t hurt, right?
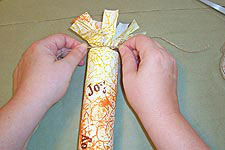 Just tie the top end, and the package is ready to go. Maybe yours needs some tags tied to either end, or more fibers. Decorate as much or as little as you wish.
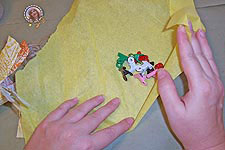
 One of my samples was done with a piece of quilting cotton. I just tore a piece larger than the tube, and treated it just like I would a piece of paper, gluing it in place, then tying with ribbon.


