Most of the decos in circulation today are plain old squares and rectangles. While I contribute my share of boxy decos, I’ve never met an alternate shape I didn’t like. One of the shapes I like to work with the most is a mask, and I have a variety of mask patterns in different sizes and shapes hanging on the wall of my studio.
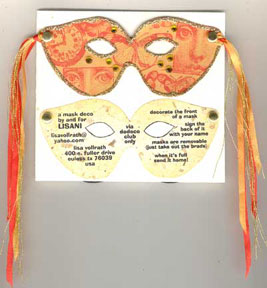
 This deco shows one of the simplest mask ideas: simply cut out small mask shapes, and brad them to cardstock. Ask each artist to decorate the front of one mask, and sign the back. This particular deco used one sheet of cardstock, and I simply bradded pairs of masks into the folded card, back to back. When all eight masks were decorated, this one returned home. (Yes, decos do come home eventually—this one took about a year.)
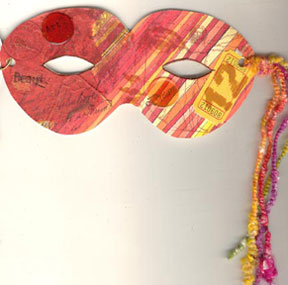 This one is equally simple: cut a handful of masks, punch holes on one side, and slip a split ring through the holes. Instant deco! I added holes to both sides of this deco, one for the ring, and one for some sort of ribbons or fibers.
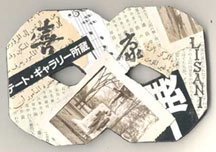 This deco is a little more complicated. When folded, it looks like a single mask…
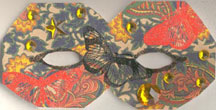
 …but when unfolded, it looks like this. The top two masks are the front and back covers, and the remaining masks are waiting to be decorated. This deco takes some creative folding to achieve: simply fold your paper to the height of your mask pattern, making sure that some portion of both the top and bottom of the pattern touch the folds. Cut, leaving those sections that touch folds intact. To help this along a bit, I squared off the top and bottom edges of my mask pattern.
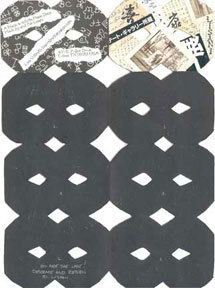
 This is another folded deco, decorated in a different style. This one took about a year to return home, but when unfolded, it creates a beautiful piece of wall art.
Ready to try some mask decos? Here are three sizes of patterns to get you started:


